Physical damage to your mechanical keyboard doesn’t always mean it’s time for a replacement. With the right assessment and repair techniques, many common issues can be fixed at home. Here’s how to evaluate damage and make informed decisions about repairs.
Assessing the Damage
The first step in any repair is a thorough assessment of the damage. Start by examining your keyboard’s case for any visible cracks, breaks, or stress marks. Pay particular attention to the areas around mounting points and corners, as these are common areas for damage to appear. While hairline cracks might be purely cosmetic, deeper structural breaks require more serious attention.
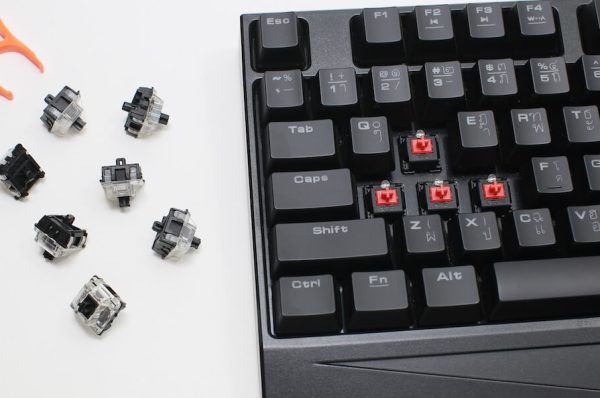
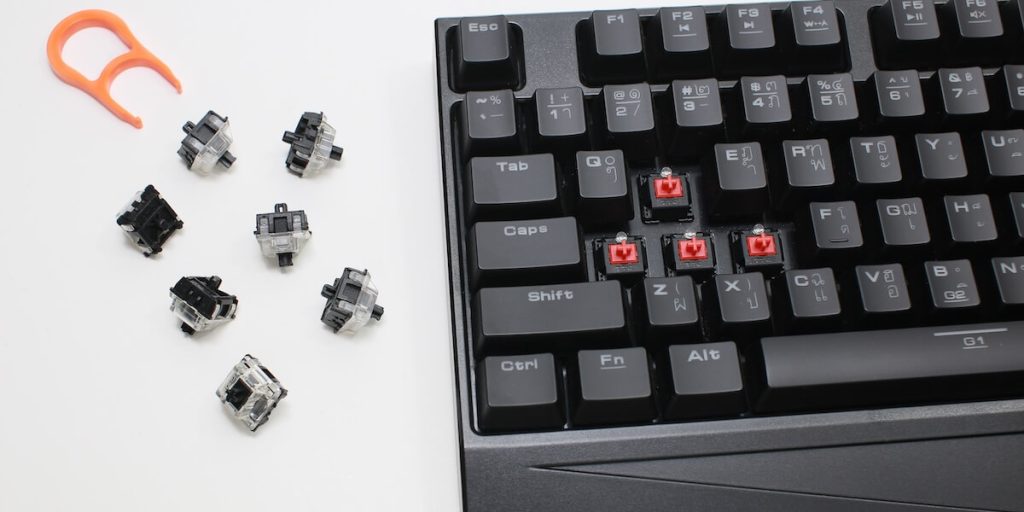
Next, check your keyboard’s internal components. Remove the case carefully and inspect the PCB alignment, mounting points, and plate condition. Look for any signs of bending or stress on the plate, and verify that all standoffs and screws are present and secure. Cable connection points deserve special attention, as they often take the brunt of daily wear and tear.
Fixing Common Issues
Cracked Cases
Small cracks in keyboard cases are often repairable with the right approach. For ABS plastic cases, plastic welding can create a strong, nearly invisible repair. Other materials respond well to epoxy or specialized plastic cement. The key is ensuring the broken edges are clean and properly aligned before attempting repair.
For more severe breaks, you might need to consider reinforcement methods. Metal brackets or carbon fiber strips can add structural integrity to a repaired area, though they may affect the keyboard’s aesthetics.
Dealing with Screw Issues
Stripped screw holes and loose mounting points are common problems that can make your keyboard feel unstable. Thread repair inserts offer a permanent solution for stripped holes, while thread locker can prevent screws from working loose over time. For severely damaged mounting points, two-part epoxy can create new anchor points, though this should be considered a last resort.
Plate and Mounting Problems
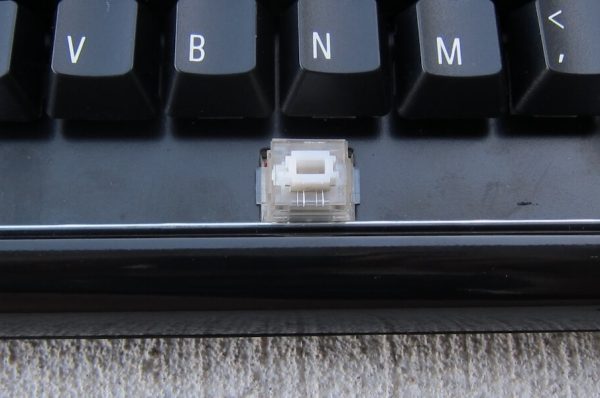
A bent plate can cause switch alignment issues and affect typing feel. Minor bending can often be corrected by carefully straightening the plate on a flat surface, but be cautious – too much force can cause permanent damage. Always remove switches and keycaps before attempting any plate repairs.
Making the Repair-or-Replace Decision
Sometimes the hardest part is deciding whether to repair or replace damaged components. Consider replacement when structural integrity is severely compromised or when repairs would cost more than new parts. However, many issues are perfectly suitable for DIY repair, especially if the damage is mostly cosmetic or the breaks are clean.
Professional Repair Considerations
Some repairs are best left to professionals, particularly when dealing with:
- Complex structural damage requiring specialized tools
- Warranty-covered issues
- Custom case modifications
- Repairs involving specialized materials
Preventive Care
The best repair is the one you never have to make. Protect your keyboard by using proper tools during maintenance and modifications. Transport your keyboard in a protective case, and address minor issues before they develop into major problems. Regular inspection of screws and mounting points can catch potential issues early.
Essential Repair Tools
A basic keyboard repair kit should include a precision screwdriver set, appropriate adhesives, and basic reinforcement materials. Having these tools on hand makes it easier to address issues as they arise, rather than waiting until damage becomes severe.
Final Thoughts
Physical damage to mechanical keyboards can be daunting, but many issues are repairable with patience and the right approach. Take time to assess damage thoroughly before attempting repairs, and don’t hesitate to seek professional help for complex issues. With proper care and maintenance, your keyboard can provide years of reliable service, even after repairs.