For mechanical keyboard enthusiasts, stabilizers can be both a blessing and a curse. While they’re essential for keeping longer keys like the spacebar, shift, and enter keys from wobbling, they can also be a source of frustrating issues. This guide will walk you through common stabilizer problems and their solutions, from rattling to broken parts.
Understanding Keyboard Stabilizers
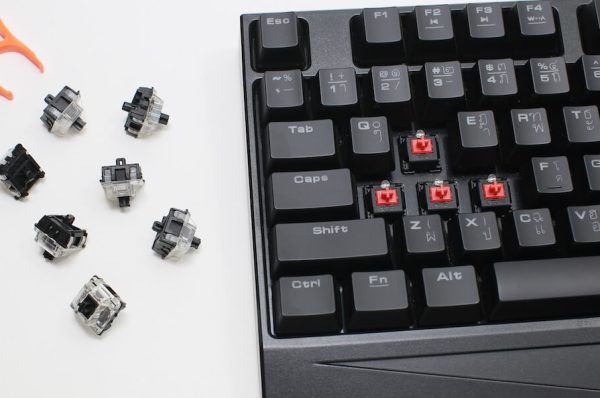
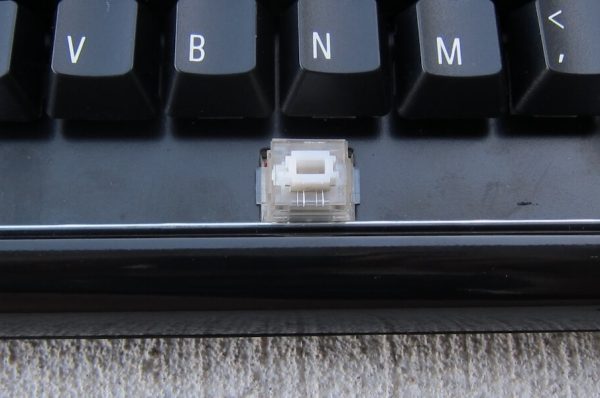
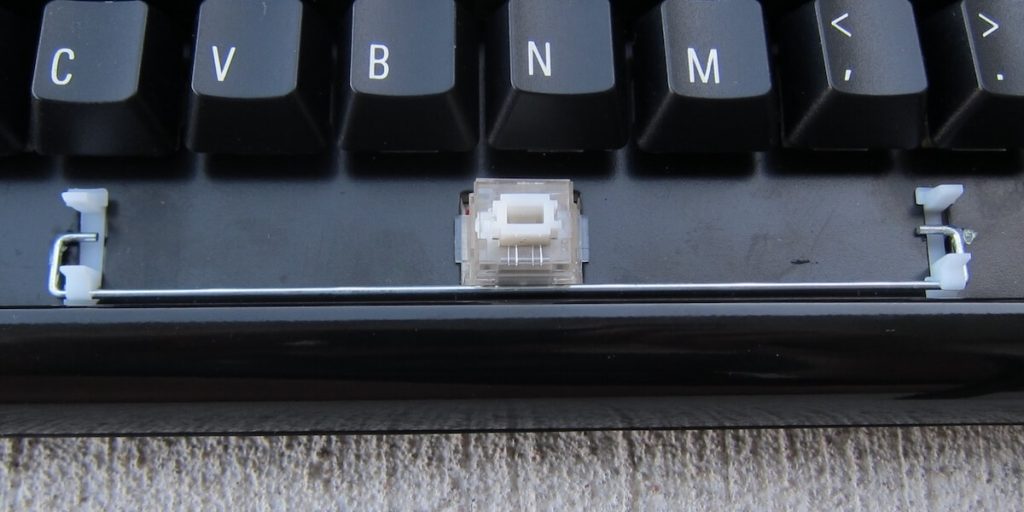
Stabilizers (often called “stabs” in the keyboard community) consist of several components:
- Housing units that mount to the keyboard
- Sliding stems that connect to the keycap
- A wire that connects the two sides
- Various clips and mounting points
Common Stabilizer Issues
1. Stabilizer Rattle
The most common stabilizer complaint is rattling – that annoying clacking sound when typing on longer keys. This occurs when there’s too much play between the wire and housing.
Solutions:
- Lubrication with dielectric grease
- The “Holee mod” (adding fabric tape inside the stabilizer stems)
- Clipping and modding stabilizer feet
- Adding stabilizer foam pads under mounting points
2. Broken Stabilizer Mounts
Another frequent issue is broken stabilizer mounting points, usually from rough keycap removal.
Solutions:
- Temporary fixes:
- Careful application of strong adhesive
- Using small plastic shims with tape
- Transplanting parts from unused keys
- Permanent fixes:
- Replacing the entire stabilizer unit
- Professional repair service
- PCB or plate replacement
3. Sticky or Sluggish Keys
Over-lubrication or debris can cause stabilized keys to feel sluggish or stick.
Solutions:
- Clean stabilizers thoroughly with isopropyl alcohol
- Remove excess lubricant
- Check for interference with stabilizer wire
- Verify proper wire insertion
DIY Stabilizer Modifications
The Basic Stabilizer Tune-up
- Disassemble stabilizers
- Clean all components thoroughly
- Clip stabilizer feet (if present)
- Apply dielectric grease to wire ends
- Lightly lubricate housing contact points
- Reassemble carefully
Advanced Modifications
The Holee Mod
- Remove stabilizer stems
- Cut thin strips of medical/fabric tape
- Apply inside stem where wire contacts
- Reassemble with proper lubrication
Band-Aid Mod
- Cut small pieces of fabric bandage
- Place under stabilizer mounting points
- Apply thin layer of dielectric grease
- Install stabilizers normally
Preventive Maintenance
To avoid stabilizer issues:
- Remove keycaps carefully using proper tools
- Clean regularly to prevent debris buildup
- Apply appropriate amount of lubricant
- Handle wire insertion gently
- Store keyboard in clean environment
When to Replace Stabilizers
Consider replacement when:
- Mounting points are severely damaged
- Wire is bent or deformed
- Housing is cracked or broken
- Multiple modification attempts fail
- Persistent issues affect typing experience
Professional Repair Options
If DIY fixes aren’t working, consider:
- Local keyboard repair services
- Mail-in repair options
- Keyboard manufacturer warranty service
- Community repair specialists
Choosing Replacement Stabilizers
When buying new stabilizers, consider:
- Plate-mount vs PCB-mount compatibility
- Genuine vs clone manufacturers
- Pre-lubed vs unlubed options
- Screw-in vs snap-in mounting
- Wire thickness and quality
Conclusion
Stabilizer issues, while frustrating, are usually fixable with the right approach. Start with basic maintenance and cleaning before moving to more advanced modifications. When in doubt, consult the keyboard community or seek professional help – there’s no shame in getting assistance with tricky repairs.
Frequently Asked Questions
Q: Can I fix stabilizers without desoldering switches? A: Yes, many keyboards allow stabilizer removal without desoldering, especially plate-mounted versions.
Q: What’s the best lubricant for stabilizers? A: Dielectric grease for wires, and thin keyboard-specific lubricants for housing contact points.
Q: Are genuine stabilizers worth the extra cost? A: Generally yes – they often have better quality control and materials, requiring less modding.
Q: How often should I maintain my stabilizers? A: Check them every few months, or whenever you notice changes in sound or feel.
Q: Can broken stabilizer mounts be permanently fixed? A: While temporary fixes exist, permanent repair usually requires component replacement.