Mechanical keyboards are a popular choice among gamers, coders, and professionals alike. However, the keycaps on your mechanical keyboard can become dirty and grimy over time, affecting the overall performance and appearance of your keyboard. In this post, we will guide you through the process of cleaning your mechanical keyboard keycaps.
Supplies Needed
Before you start cleaning your mechanical keyboard keycaps, it’s important to gather all the necessary supplies to ensure a smooth and efficient cleaning process. Here are the essential supplies you’ll need:
- A container to soak your keycaps
- Warm soapy water for cleaning the keycaps
- Isopropyl alcohol (IPA) for cleaning the keyboard
- Light compressed air for clearing out dust from the keyboard
- A damp cloth for cleaning out any grime from the keyboard
- A towel for drying the keycaps
- A soft-bristled brush for scrubbing hard-to-reach areas of the keycaps
- Gloves to protect your hands from any harsh chemicals or dirt during the cleaning process
- A drying rack or towel to allow your keycaps to dry overnight.
By having these supplies on hand, you’ll be able to clean your mechanical keyboard keycaps with ease and efficiency, leaving your keyboard looking and feeling as good as new.
Prepping Your Mechanical Keyboard for Cleaning
Before diving into cleaning your mechanical keyboard keycaps, it’s important to prep your keyboard first. Switch off and/or unplug your keyboard before cleaning to prevent any electrical damage or short circuits that can occur during cleaning. Wait at least 5 seconds after unplugging your keyboard before starting to clean, and use Isopropyl alcohol (IPA) for cleaning the external surfaces of your keyboard. Be careful not to use too much force as it may damage your keyboard. Keep moisture to a minimum during the cleaning process to avoid any water damage. Taking necessary precautions during the cleaning process is important to prevent any damage to your mechanical keyboard.
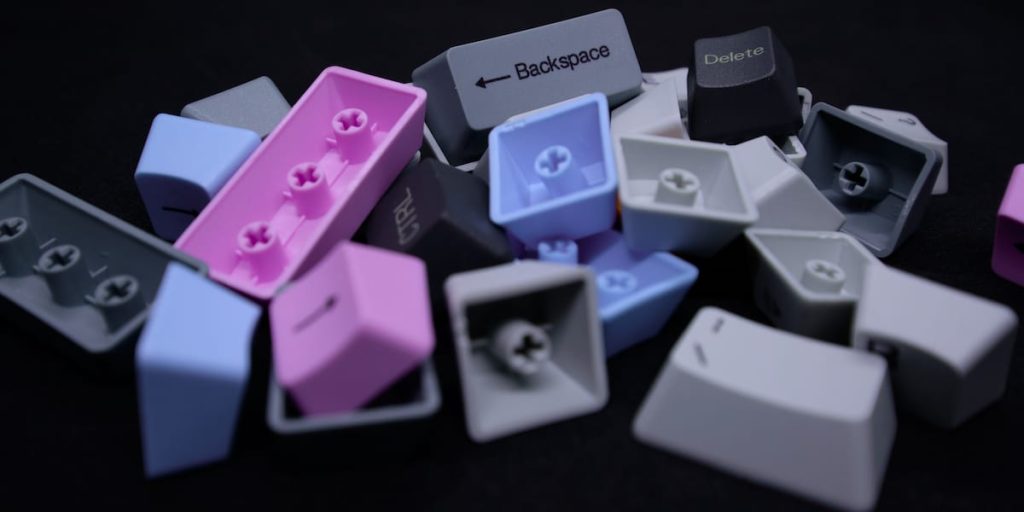
Cleaning Your Mechanical Keyboards Keycaps
To clean your mechanical keyboard keycaps, start by carefully removing the keycaps from your keyboard. Once you have the keycaps removed, place them in a container of warm soapy water and let them sit for 30 to 60 minutes, ensuring that they are completely submerged in the water. While the keycaps soak, use light compressed air to clear out any dust from your keyboard and a damp cloth to clean out any built-up grime. Be sure to avoid letting any liquid get into the keyboard, as this can cause issues with the printed circuit board. After the keycaps have soaked long enough, rinse them and dry them with a towel. Finally, set the keycaps aside to dry overnight and then reinsert them back into your keyboard the next day. With these simple steps, your mechanical keyboard will look and feel as good as new.
Final Thoughts
Cleaning your mechanical keyboard keycaps may seem like a daunting task, but with the right approach and supplies, it can be a straightforward and rewarding process. Remember to be careful when using Isopropyl alcohol and avoid letting any liquid get into the keyboard. By following these steps, you can keep your mechanical keyboard looking and feeling great, and extend its lifespan. Give your keyboard the care it deserves and enjoy a clean and fresh typing experience.